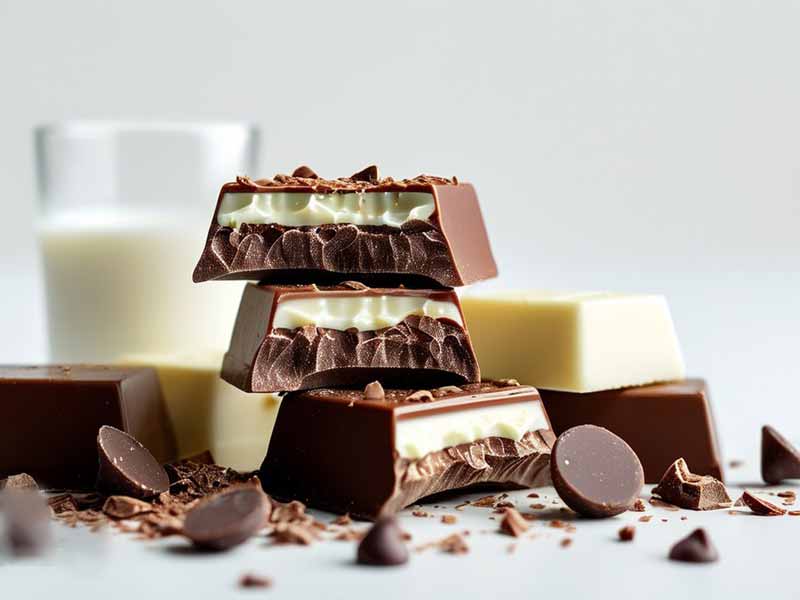
As one of the most popular types, the milk chocolate remains its strong appeal due to its smooth texture, creamy sweetness, and rich flavor profile. Therefore, making milk chocolate is a process that becomes an enjoyable and rewarding experience with the suitable approaches and the right chocolate making tools and machinery. Whether you’re a beginner or a seasoned chocolate enthusiast, the transformation of raw cocoa beans into a silky, sweet milk chocolate is a fascinating journey. Here, we’ll take you through every essential step, starting from the cocoa beans all the way to your final, irresistible milk chocolate. Along the way, we’ll show you how various machines can make this process smoother, faster, and more efficient, ultimately helping you create the highest-quality chocolate.
Step-by-Step Process to Make Milk Chocolate from Cocoa Beans:
Step 1: Starting with Cocoa Beans - Harvesting, Fermentation, and Drying
- Harvesting Cocoa Beans:
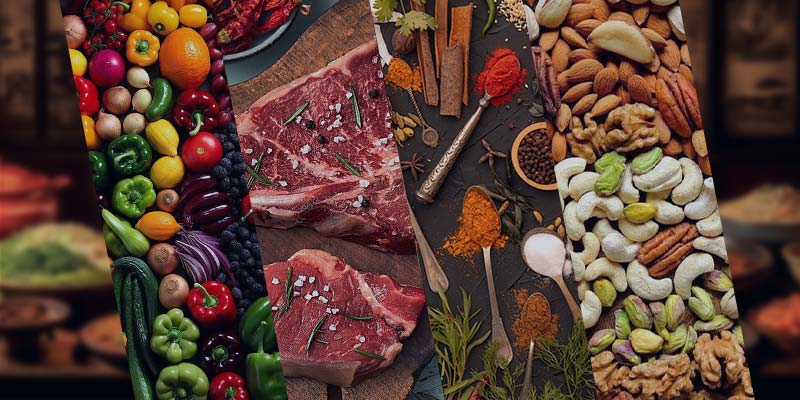
Cocoa beans come from the cacao tree, which produces cocoa pods. Once the pods are collected, they are opened, either manually or with machinery, to extract the precious beans inside.
- Fermentation:
Fermentation is where the magic begins, as it develops the distinctive flavor profiles of the cocoa beans. Although this was traditionally done in wooden boxes, many commercial producers now turn to fermentation chambers. Moreover, these machines offer precise control over temperature and humidity, and this can ensure optimal fermentation conditions that result in beans with superior flavor.
- Drying:
After fermentation, the beans need to dry properly with drying machines. And it can reduce the need for manual labor, which can offer a controlled environment where the beans dry evenly at the perfect temperature.
Step 2: Roasting - Unlocking the Full Flavor
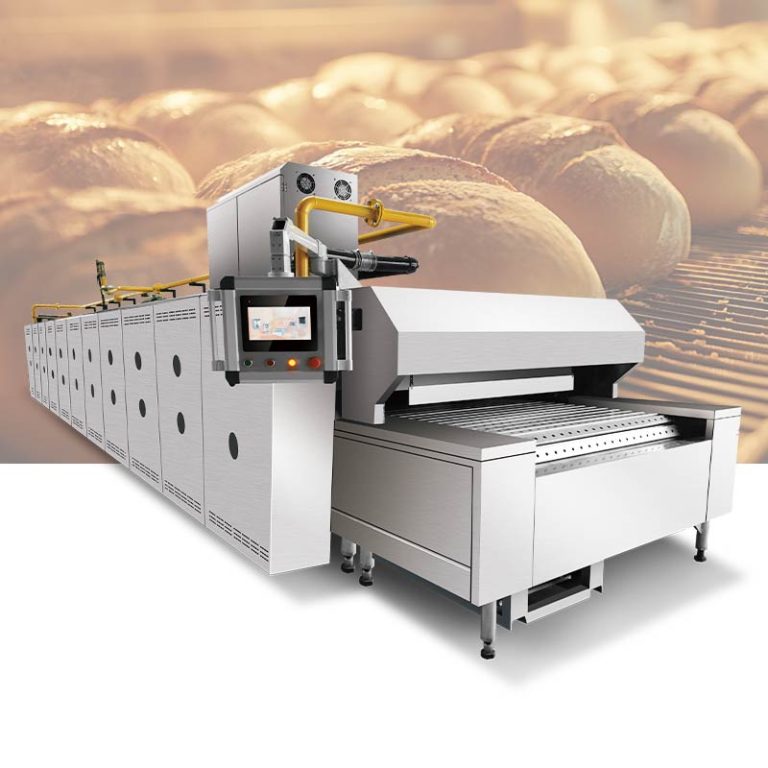
- Roasting:
Roasting is arguably one of the most important stages in chocolate-making, where the cocoa beans release their rich, aromatic flavors. Most chocolate factories use roasting ovens, which allow for precise control over both the temperature and the duration of the roast.
- Cooling:
Once the beans have been roasted to perfection, they need to cool down. And the air circulation or fans can cool the beans evenly and quickly. Then the texture is preserved, and the rich flavor remains intact.
Step 3: Cracking and Shell Removal - Extracting the Cocoa Nibs
- Cracking:
This step breaks the beans into smaller pieces, which reveals the valuable cocoa nibs inside. Commercial operations often use a cocoa bean cracker or cocoa crusher, which utilizes high-speed blades or rollers to crack the beans.
- Shell Removal:
After cracking, the shells need to be removed. In larger factories, this is done using winnowing machines, which use air currents to separate the cocoa nibs from the shells.
Step 4: Grinding Into Cocoa Mass - The Foundation of Chocolate
- Grinding:
Grinding is the step where the cocoa nibs are transformed into a smooth, velvety mass. To achieve this, many commercial chocolate makers rely on grinders, such as stone grinders or roller mills. These machines crush the nibs and release the cocoa butter, and this can form a thick, rich cocoa mass that serves as the base for your chocolate.
- Further Grinding:
For an even finer texture, the grinding process continues for several hours. This extended grinding is typically done in machines designed to refine the mass over a 3-4 hour period to produce a silky-smooth cocoa paste, which is perfect for creating high-quality chocolate.
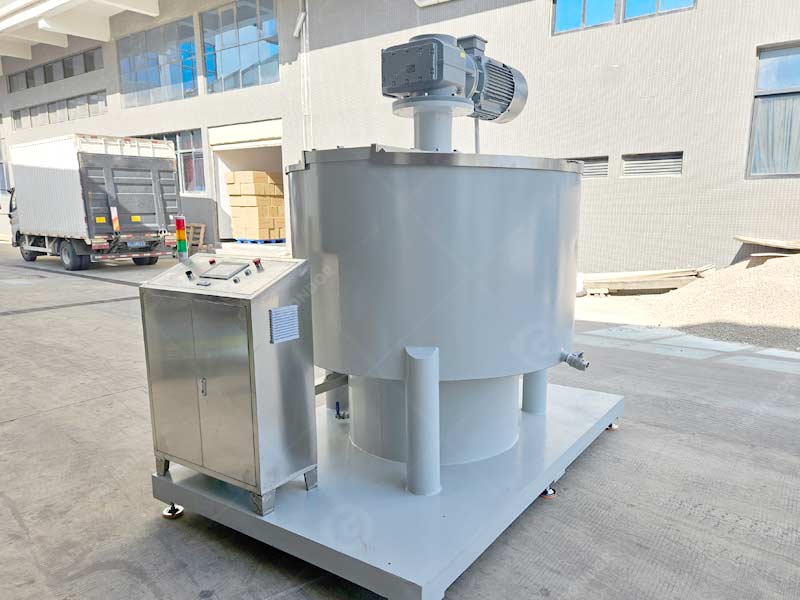
Step 5: Mixing - Crafting the Perfect Chocolate Recipe
- Adding Sugar:
Sugar is added to the cocoa mass to create a balanced flavor. In commercial production, sugar dispensers evenly distribute the sugar for smooth integration without graininess.
- Adding Milk Powder:
Milk powder is mixed into the cocoa paste. In factories, milk powder mixers are used for an even blend, but at home, you can stir it in manually with some effort.
- Adding Cocoa Butter:
Cocoa butter is essential for the smooth, melt-in-your-mouth texture of milk chocolate. Commercial machines inject precise amounts of cocoa butter to control texture.
- Mixing:
The ingredients are thoroughly mixed together to create a smooth, thick paste. This ensures the sugar, milk powder, and cocoa butter blend seamlessly into the cocoa mass.
Step 6: Refining - Achieving the Ultimate Smoothness
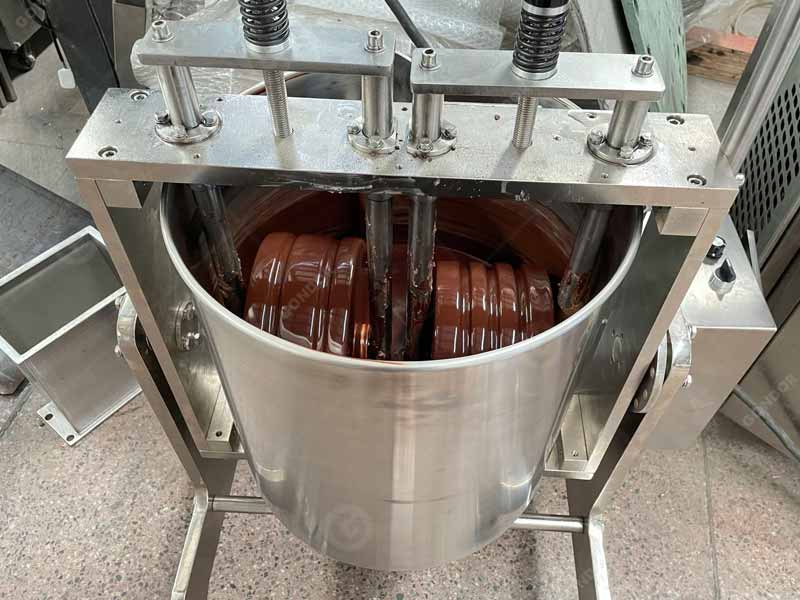
- Refining:
Refining is the key to turning a good chocolate mass into an exceptional one. The conche machine is used to continually stir and grind the chocolate mixture for several hours, which can reduce the size of any remaining cocoa particles.
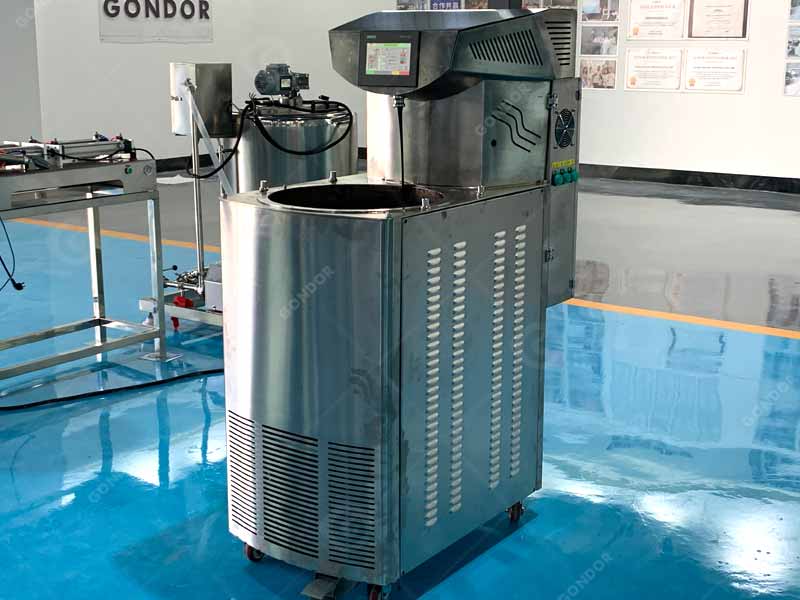
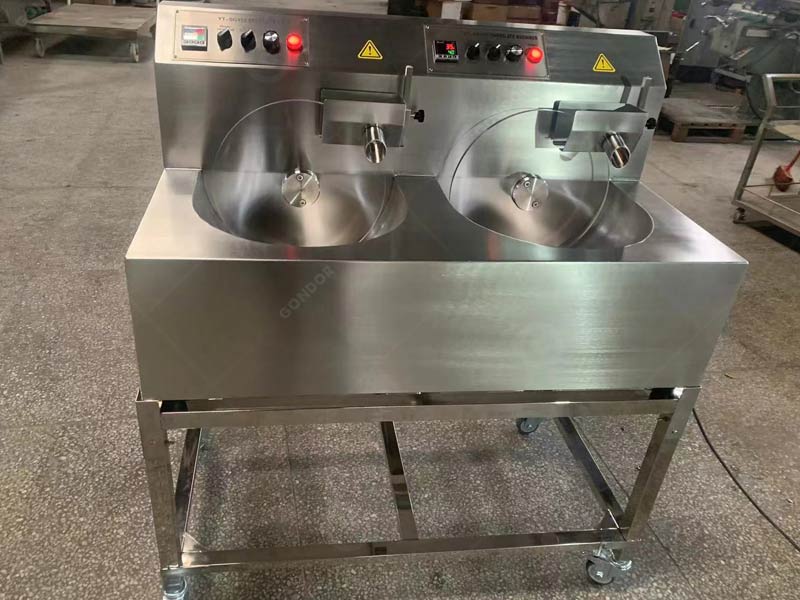
Step 7: Tempering - The Final Touch for Gloss and Texture
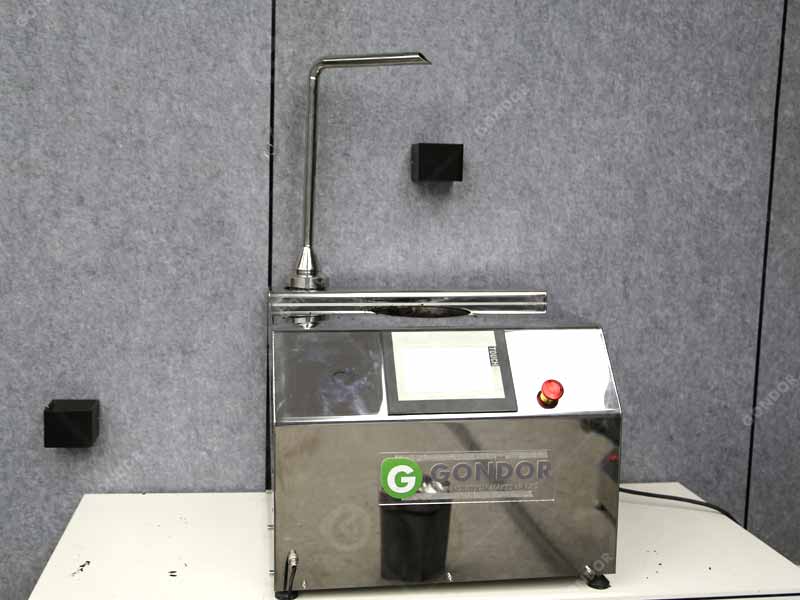
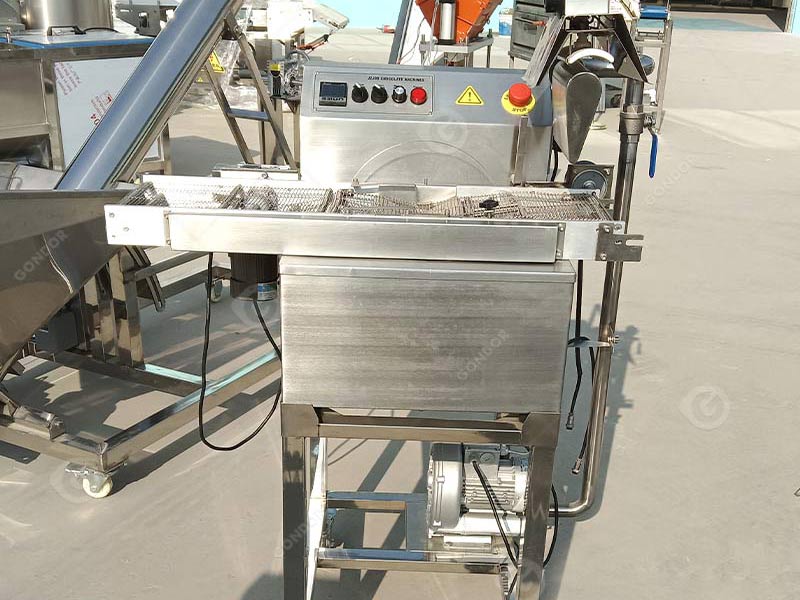
- Initial Heating:
Tempering is the final step in achieving the perfect chocolate finish. First, the chocolate is heated to a precise temperature, usually between 45°C and 50°C. In this proess, chocolate melters or chocolate tempering machines are used to heat the chocolate evenly. What’s more, it melts perfectly without any lumps.
- Cooling:
Once the chocolate is fully melted, it needs to cool down to 28°C-29°C. This cooling process is critical for creating the right crystalline structure in the cocoa butter and sugar, and the high-end cooling systems are often used in factories to control the cooling process.
- Final Heating:
To complete the tempering process, the chocolate is gently reheated to around 30°C-32°C, which gives the chocolate its smooth, glossy appearance and perfect snap.
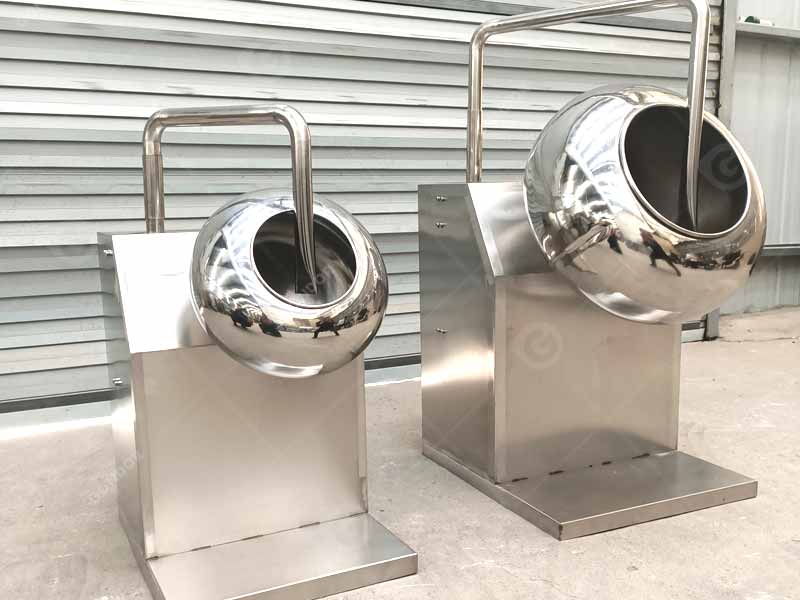
Step 8: Molding and Cooling - Shaping the Final Product
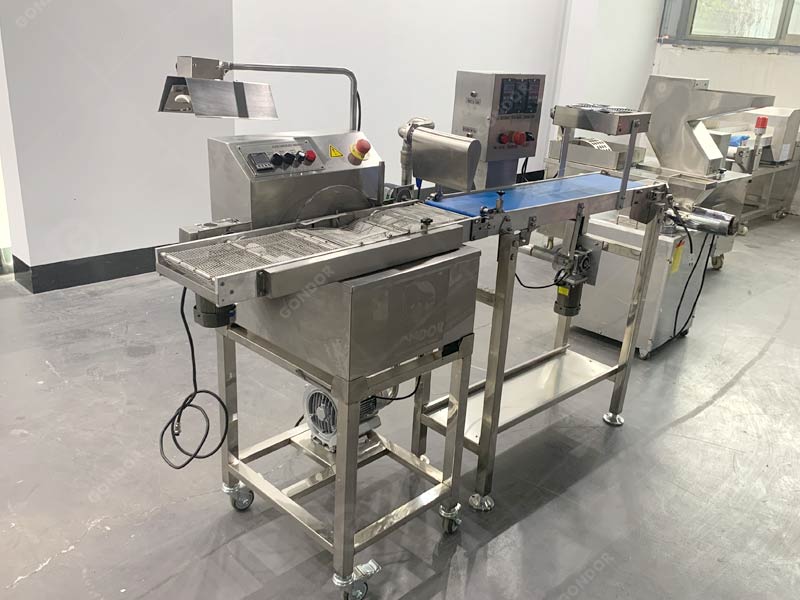
- Pouring into Molds:
Once the chocolate is tempered,commercial operations typically use chocolate depositing machines to quickly and efficiently pour the chocolate, and it also can ensure no air bubbles are trapped in the process.
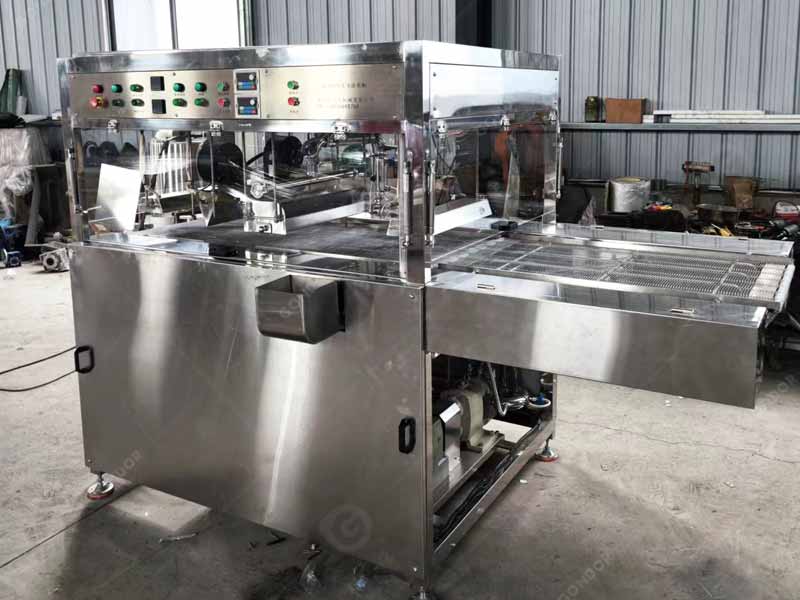
- Cooling:
After pouring, the molds are placed in a cooling tunnel or refrigerator. Here, the chocolate solidifies into its final form, typically taking 1-2 hours to fully set.
Step 9: Removal, Packaging, and Storage - Enjoying the Final Product
- Removing the Chocolate:
Once fully cooled, the chocolate is carefully removed from the molds, which can perfectly form chocolate bars with a smooth, glossy surface.
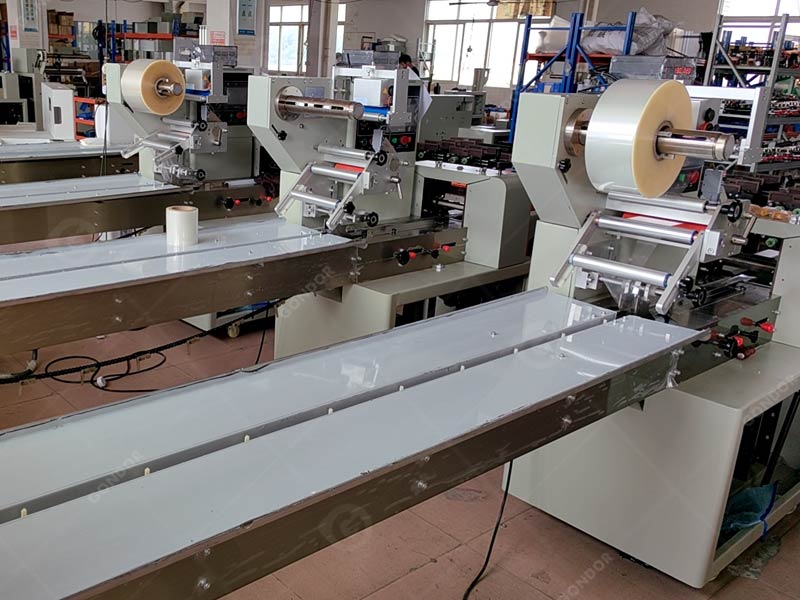
- Packaging:
To preserve the chocolate’s quality, it is quickly packaged using packaging machines. It can seal the chocolate in high-quality, food-safe materials, which can prevent exposure to moisture and air that could degrade its texture and flavor.
- Storing:
To maintain its flavor and texture, chocolate should be stored in a cool, dry place at temperatures between 18°C-22°C. Many commercial chocolate manufacturers use storage systems to regulate both temperature and humidity for longer freshness.
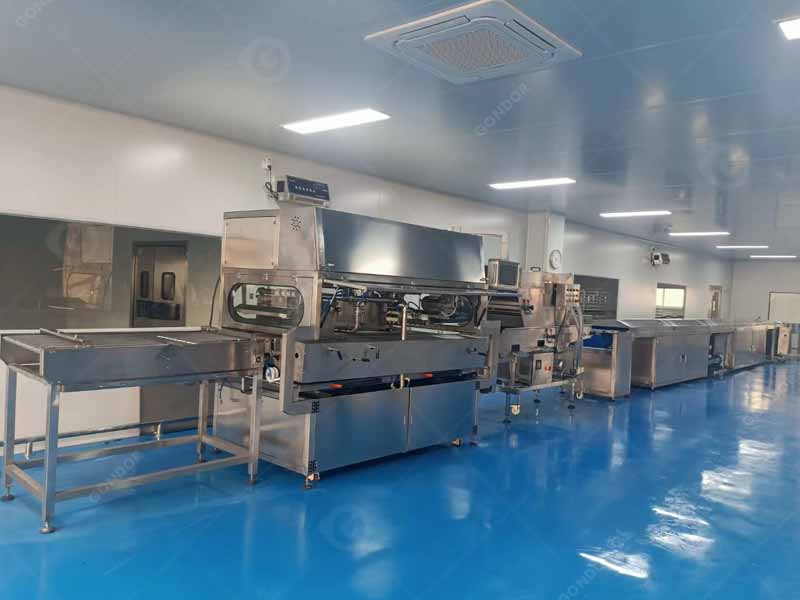
Streamlining Chocolate Production with Advanced Machinery
Thanks to advanced chocolate making machinery, the production of milk chocolate has become more efficient and precise. Each step, from roasting and refining to molding and packaging, can now be optimized for consistency and quality. Whether you’re an experienced chocolatier or just starting, selecting the right chocolate making equipment is essential to produce the perfect chocolate. At Gondor Machinery, we offer high-quality food processing machinery that streamline every phase of production. Our technology ensures precision, which allows you to focus on creating exceptional chocolates that will delight your customers. Reach out today to learn how we can elevate your chocolate-making process!